Hello there! Here are three reference photos of one of the skulls from the studio in top down lighting. Feel free to download or work from these as practice for your mid-term.
|
Hi Guys! We have been working on study drawings of our main facial features the past couple of days, and we took a look at some videos by the artist, Stan Prokopenko. The videos we watched can be found in the links below: The EyeThe Nosethe Mouth and LIpsLast one! Step 1 - Draw a Box Much like our start for the head, we'll start the ear by drawing a box. A rectangle to be exact, make it more tall than wide, as that's how most ears are shaped. Typically, the ear will be about half as wide as it is tall. Step 2 - Parts!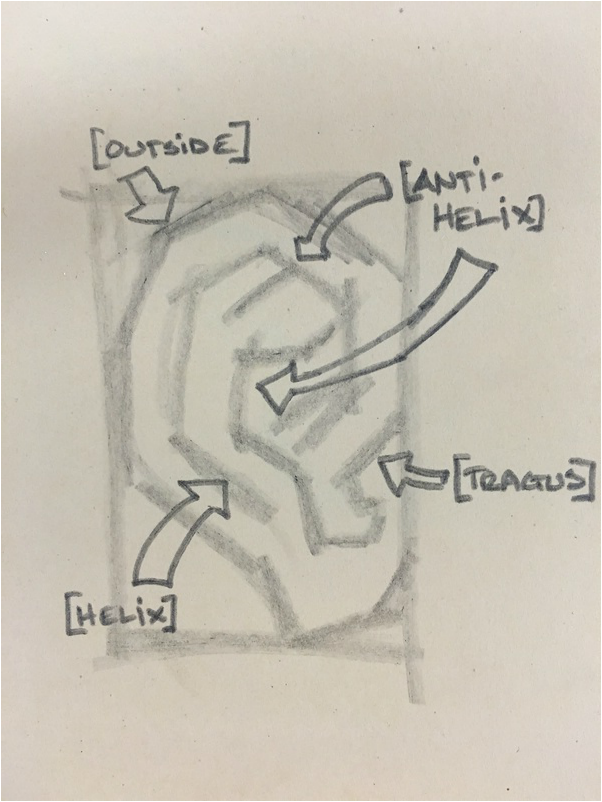 Now, we'll LIGHTLY sketch in the parts of the ear:
Step 3 - Finishing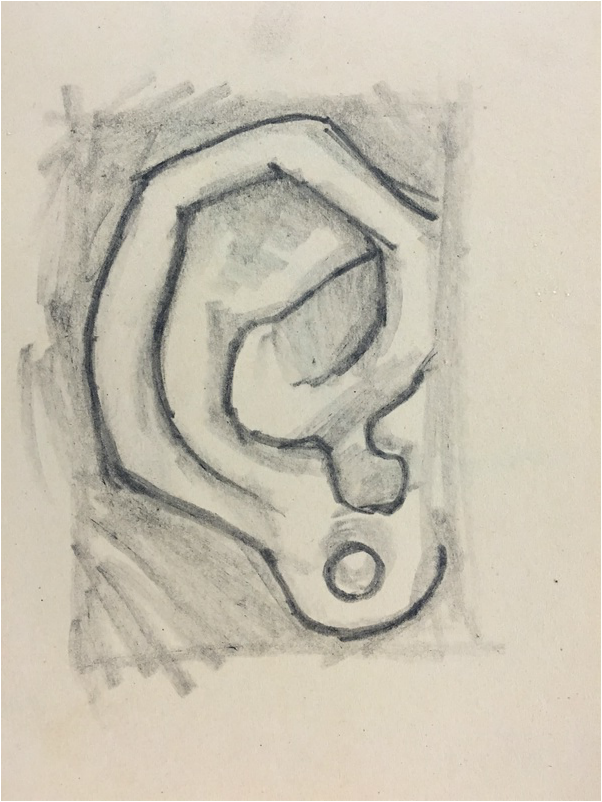 Finish by going back over all of your sketched lines and sharpening the image to reflect the edges that you actually see in your model's ear. Some of these edges will look like they just kind of "trail off" and disappear. If this happens, just gently fade your line out in the same place.
And lo' the steps for drawing the mouth. Step 1 - Mark Proportion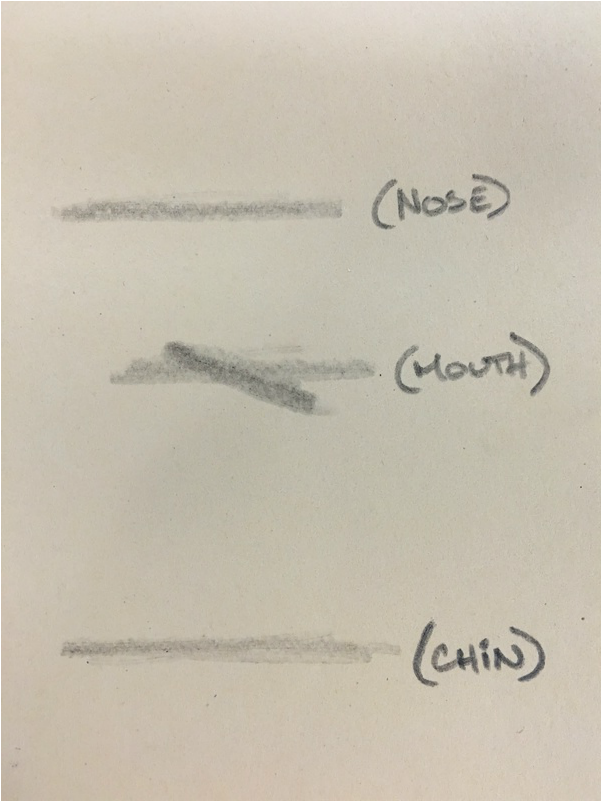
Step 2 - Silhouette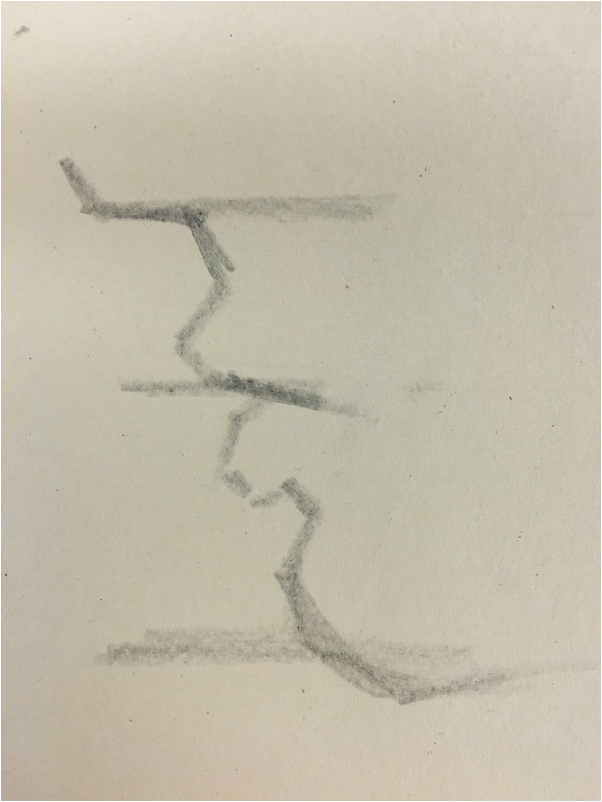 Lightly sketch in the angles of the upper lip, mouth, lower lip, and chin. The mouth line will attach to the UPPER LIP, not the lower. Step 3 - Finishing
This post will outline the drawing of the eye in profile. Step One - A triangle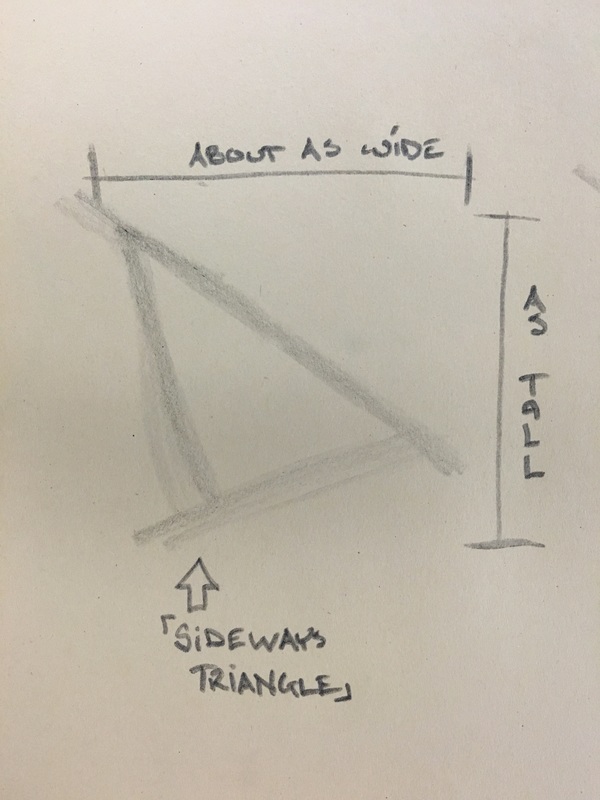 The eye in profile takes on the shape of a slanted triangle, the top is slightly longer than the bottom, and the side slants back into the head just a bit. The height will be slightly less than the width - use your judgement. Step two - Parts! The eye can be broken up into five parts that we should pay attention to when drawing:
For now, we will LIGHTLY sketch these parts in as we see them. In some people, especially those with darker eyes, it may be hard to see where the iris ends and the pupil begins. If this is the case, DON'T MAKE IT UP, just draw what you see, and if you have to combine them - that's fine. Typically, the iris will end about a quarter (1/4) to a third (1/3) of the way back from the front of the eye. When drawing the lashes, DO NOT draw individual lashes - draw all of the lashes TOGETHER and treat them as one shape. Step 3 - Finishing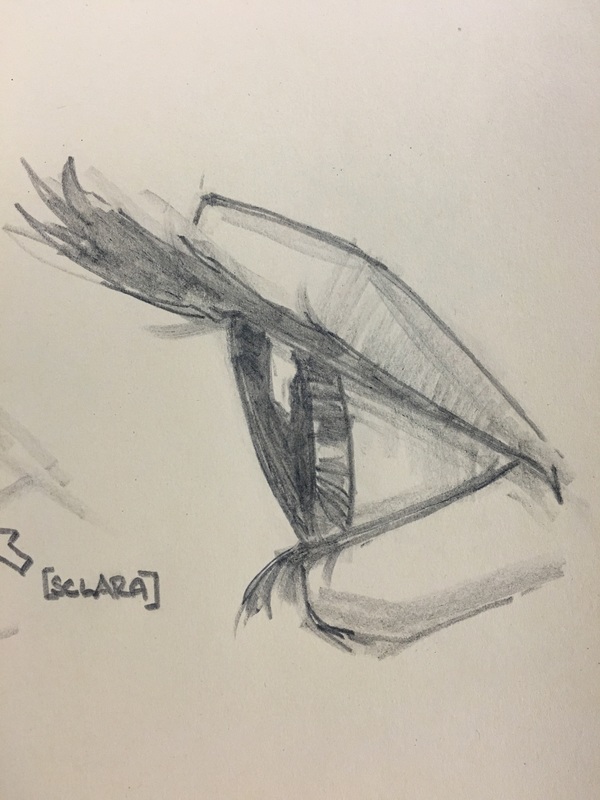 To finish the drawing, go back over all of your sketched lines and sharpen them by looking at the EDGES of your model's eye. Pay close attention to the direction of the curves in the eyelids and the overall shape of the lashes.
Drawing the Schnoz, in a few straight forward steps. See below: Step one - Draw a Right Triangle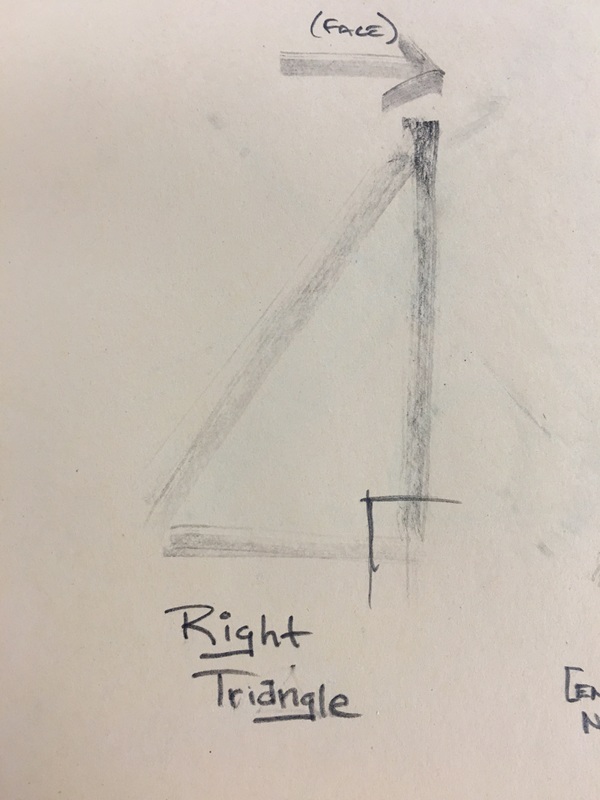 The nose in profile has the shape of a right triangle, with the vertical side on the same side of the nose that attaches to the face. So, to get started, just draw a right triangle, LIGHTLY, that's pointed the same direction as your model's nose. Step Two - Measuring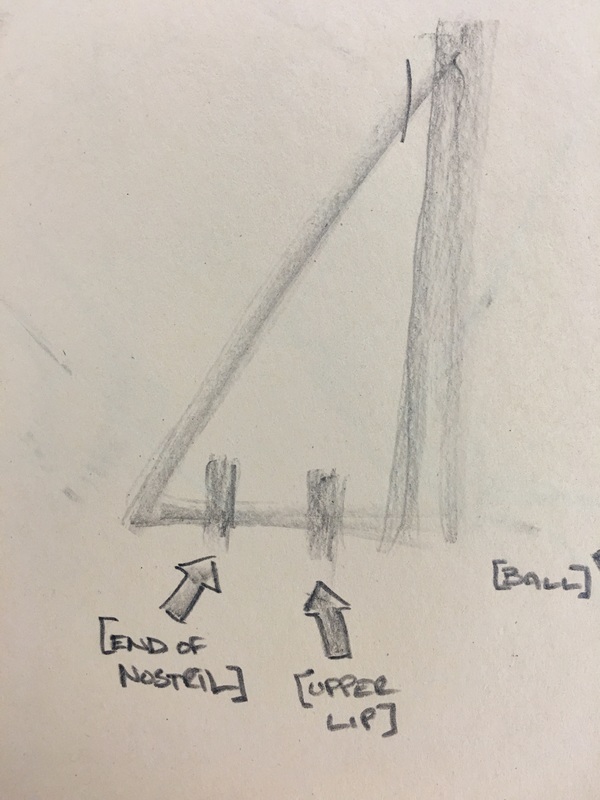 Now, do the following:
Step Three - Drawing the Edges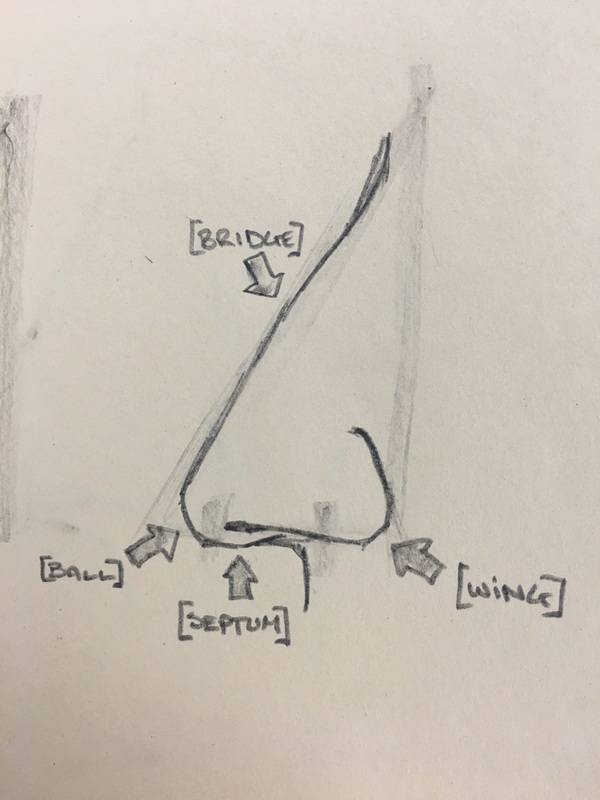 Now, following your foundation drawings, draw the rest of the nose:
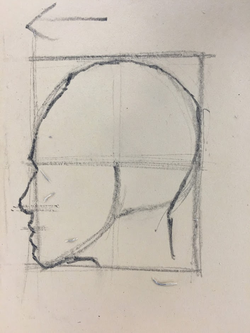
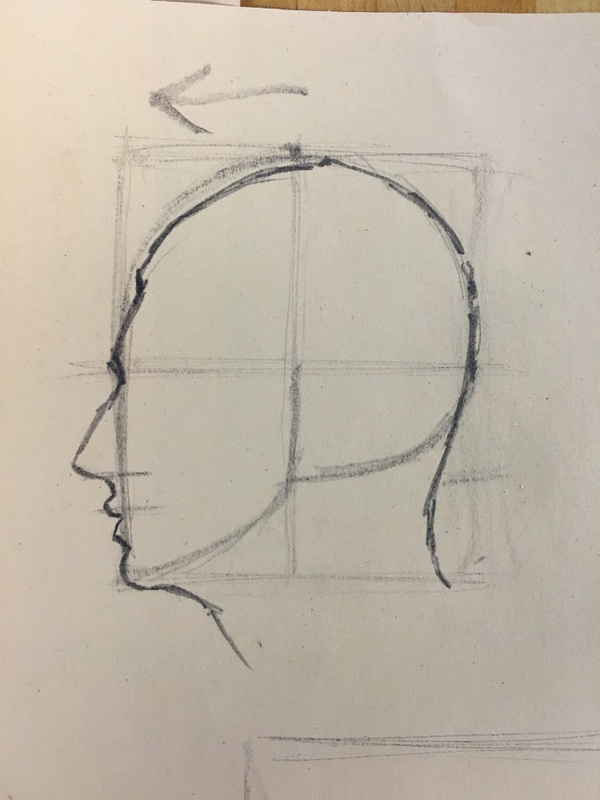
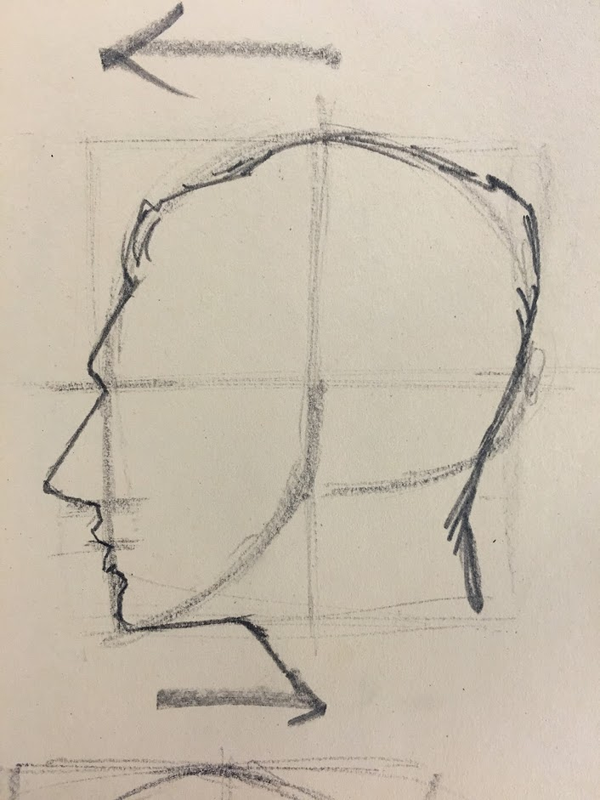
On Friday, we covered how to get started with drawing the profile. We broke the process down into a few specific steps, outlined below: Step 1 - Draw a box.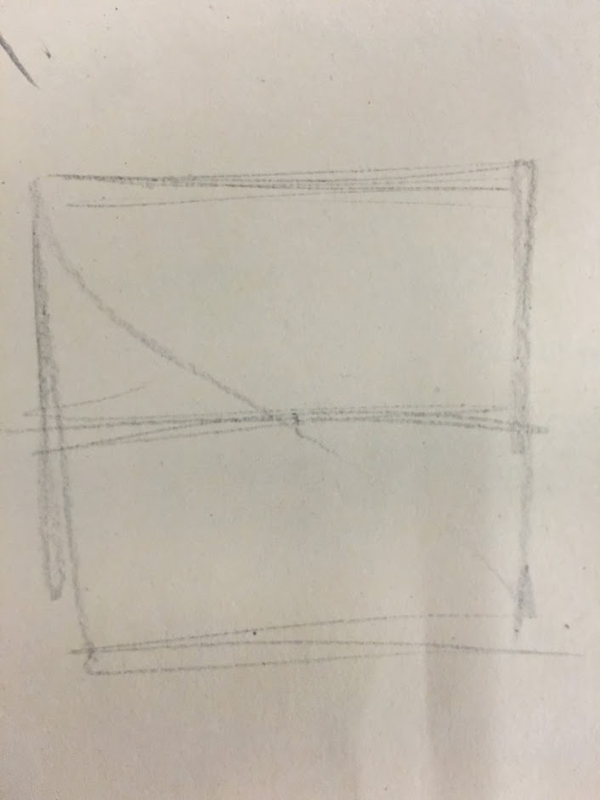 Pretty simple. Do it lightly, make it almost or actually a SQUARE. Most profiles fit neatly inside a square. Then divide your box in half TOP/BOTTOM. After that, MEASURE the height of your model's head, and COMPARE it to the width. Adjust your box to show this relationship. Then divide your box in half LEFT/RIGHT. Step 2 - The Blank and Marking Proportion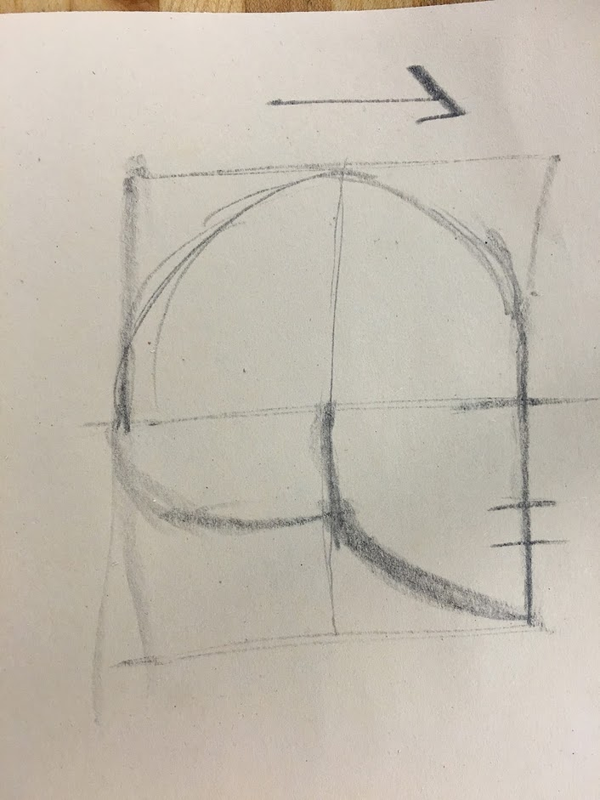 Draw a "Blank" (a mannequin style generic head shape - "blank" is a lot easier to say and type...) over your box:
Next, you need to mark proportions. Here's how:
Step 3 - The Silhouette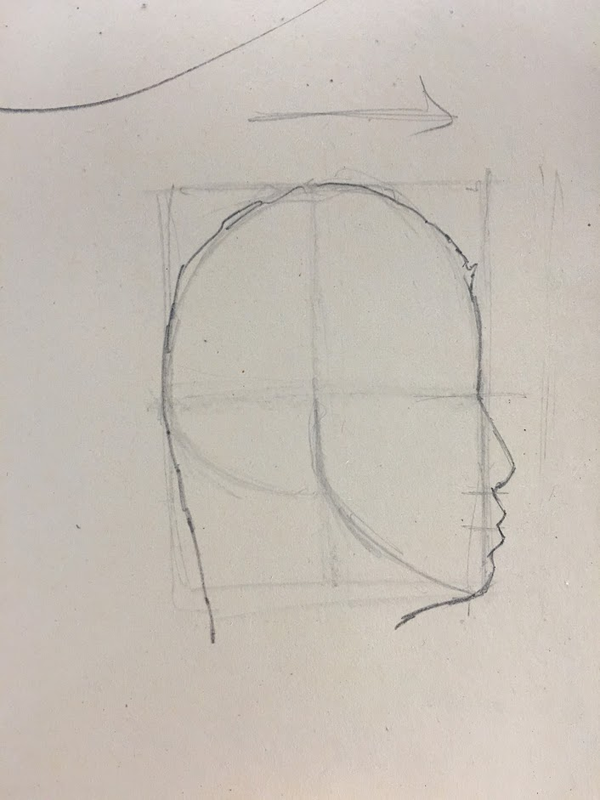 You're almost there. Now, using your measurements as a guide, sketch in the silhouette:
Here are a few more from our demos on Friday, using the same steps and procedure:
 UPDATE: Grades are up to date and accurate for PERIODS 2 AND 5. I am planning to enter Period 1 either tonight or tomorrow morning.
Parents! Please go by your child's interim grade for the moment. We have a project that will be posting to Home Access in the next couple of days that is making the current grade in the class inaccurate. Thank you.
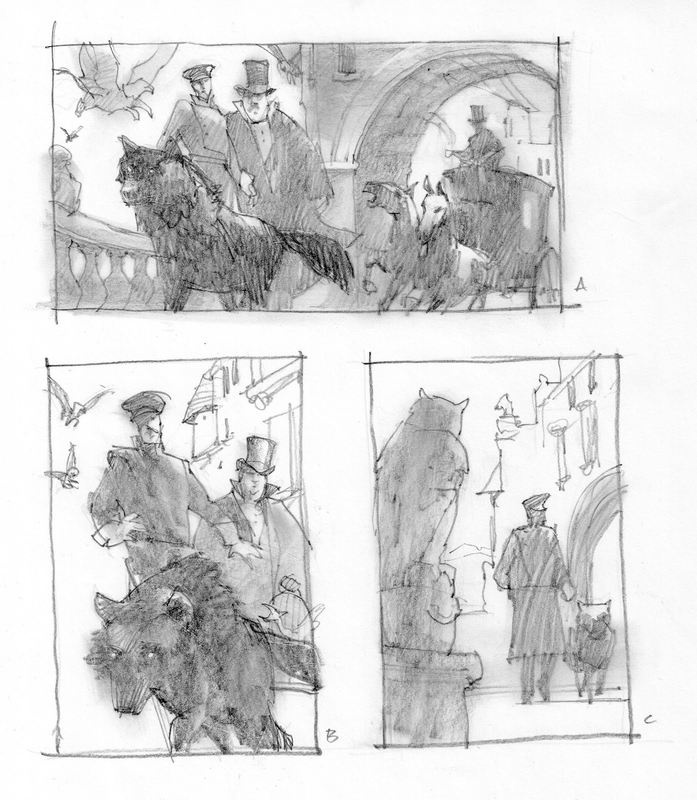
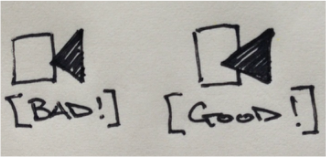
These sketches, and the finished painting, were for a book called Vampire Earth. A science fiction book about Alien Vampires, the post apocalypse, and burnt out gas stations. If you would like to check out more of Greg Manchess's work, and you should, as well as read HIS thoughts on the sketching process, follow any of the links below:
MUDDY COLORS (it's the illustration collective the Manchess is a part of - lots of other AWESOME artists on here as well) The Satan Factory (book from Mike Mignola's Hellboy comic) - a TON of sketches to look at. The Sky People - another sci-fi yarn. LOTS of sketches here too. Dress Your Marines in White - a faster image, less thumbnails, but great insight into why they're important. The Mongolian Wizard - a steampunk-ish fantasy yarn, so different style is used. Also, it's a MONTAGE. Enjoy! On Wednesday, we talked about some things called the DESIGN CLICHES. These are simply design tricks and tools that you can use as an artist to alter, change, and play with how things look in your drawings. Also, for the sake of our little demo here, as well as our project, all of the design cliches made use of the three silhouette drawings that you created on Tuesday. Mine are below:  Shapewelding
Overlap
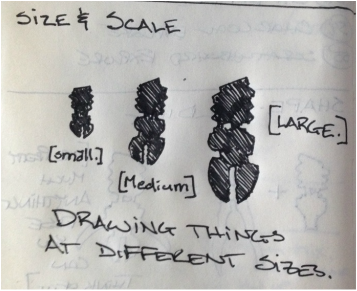
Size and Scale
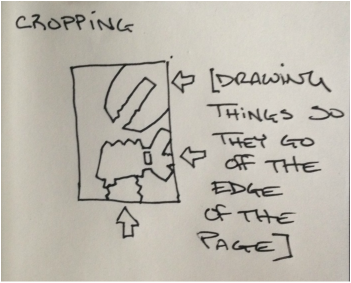
Cropping
So that's it. Those are our DESIGN CLICHES. They are ways for you to control the composition and control the page, and the quick sketch below demonstrates all four of them in action at once.  |
PUrposeThis page will serve as a resource when you miss class, or when you want to review what we have covered. Archives
January 2016
Categories |


 RSS Feed