Last one!
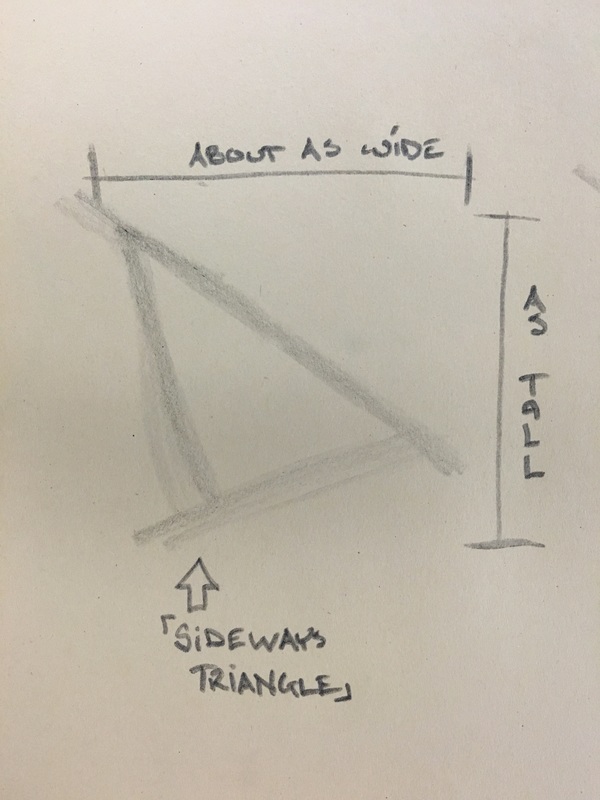
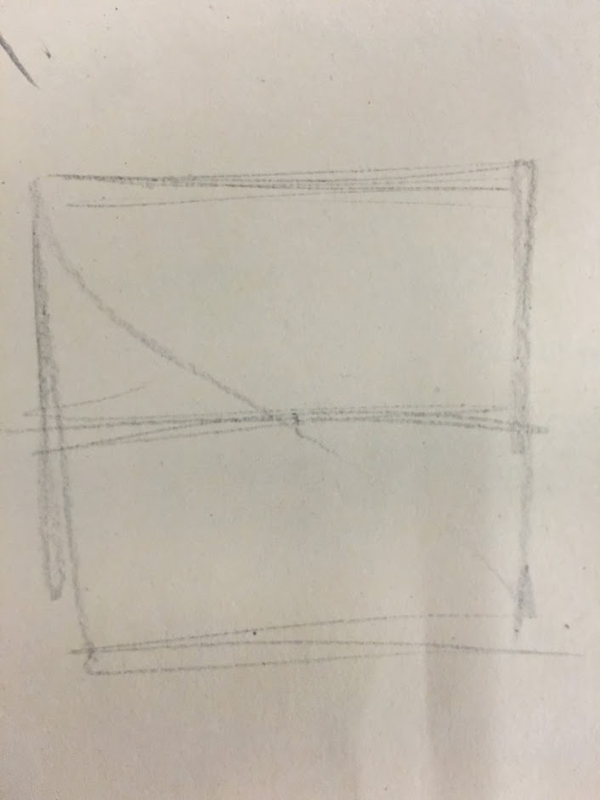
Step 1 - Draw a Box

Much like our start for the head, we'll start the ear by drawing a box. A rectangle to be exact, make it more tall than wide, as that's how most ears are shaped. Typically, the ear will be about half as wide as it is tall.
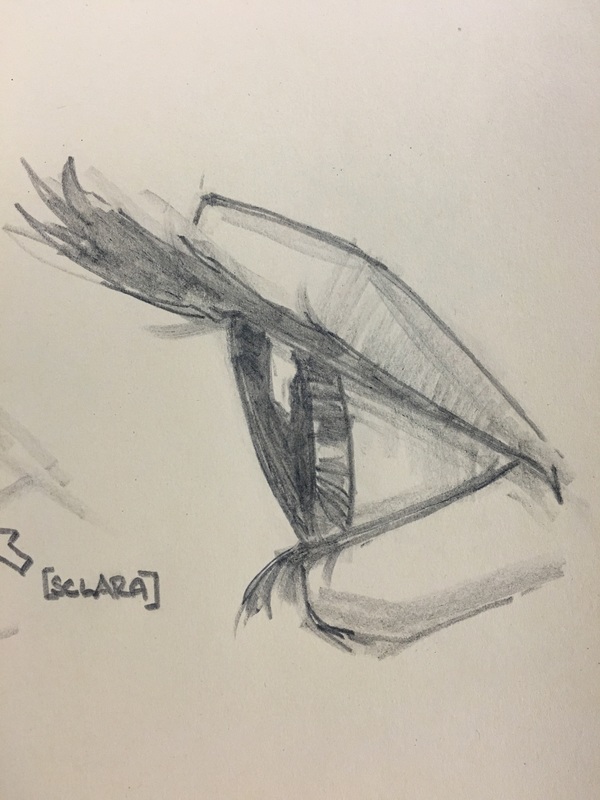
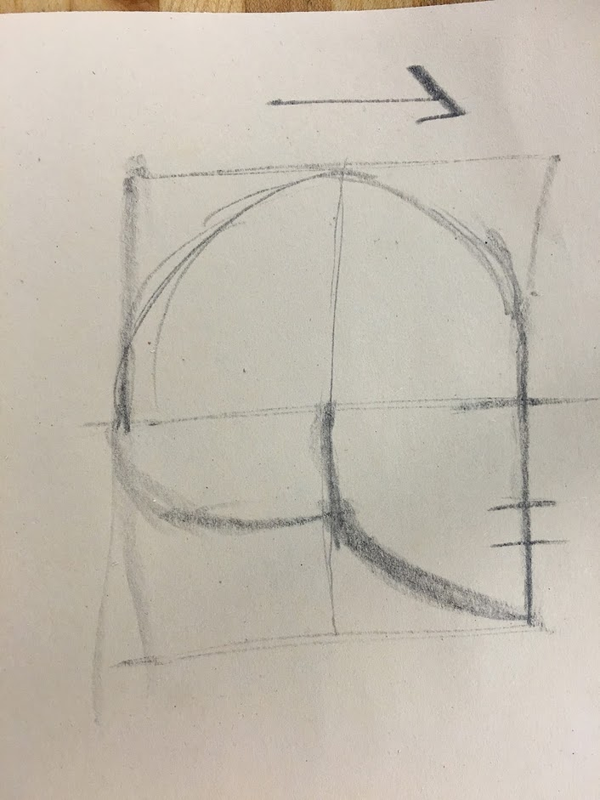
Step 2 - Parts!
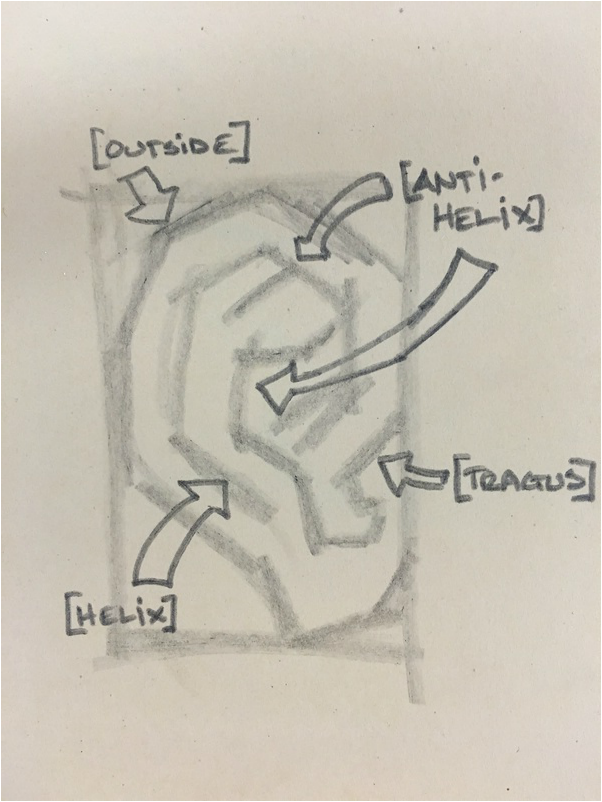
Now, we'll LIGHTLY sketch in the parts of the ear:
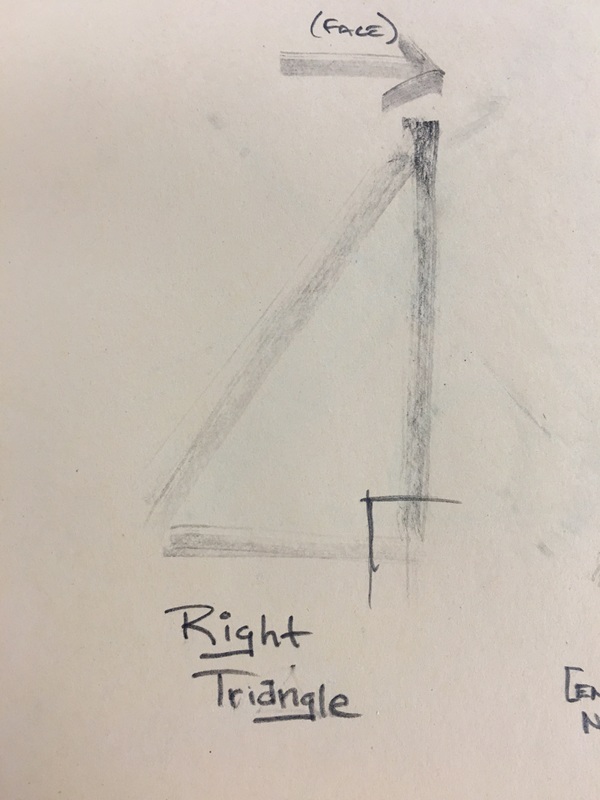
- Draw the angles of the OUTSIDE of the ear.
- Draw the angles of the INSIDE of the HELIX - that's the ridge on the outside of the ear.
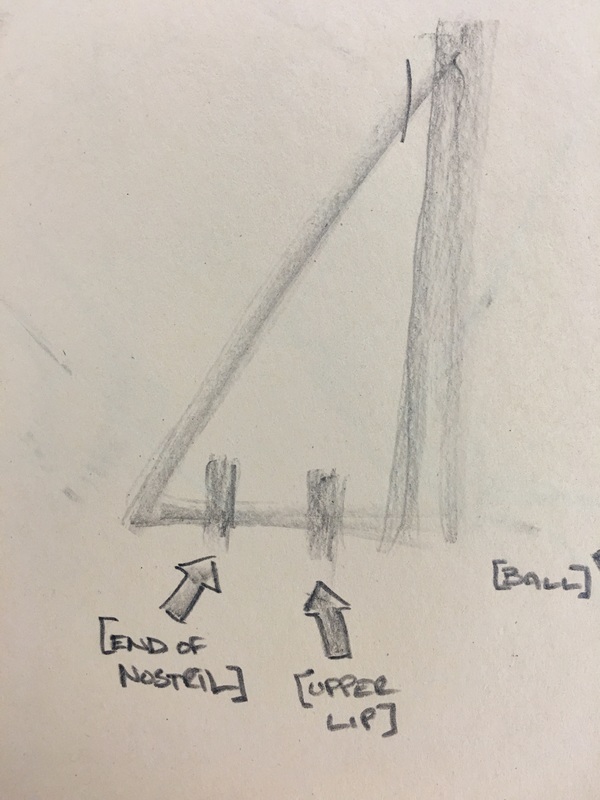
- Draw the angles of the ANTIHELIX - a "y" shaped piece of cartilage hanging out on the inside of the ear.
- Draw the angles of the TRAGUS - the bumpy piece of cartilage closest to your face, on some people the ANTIHELIX will connect with the TRAGUS.
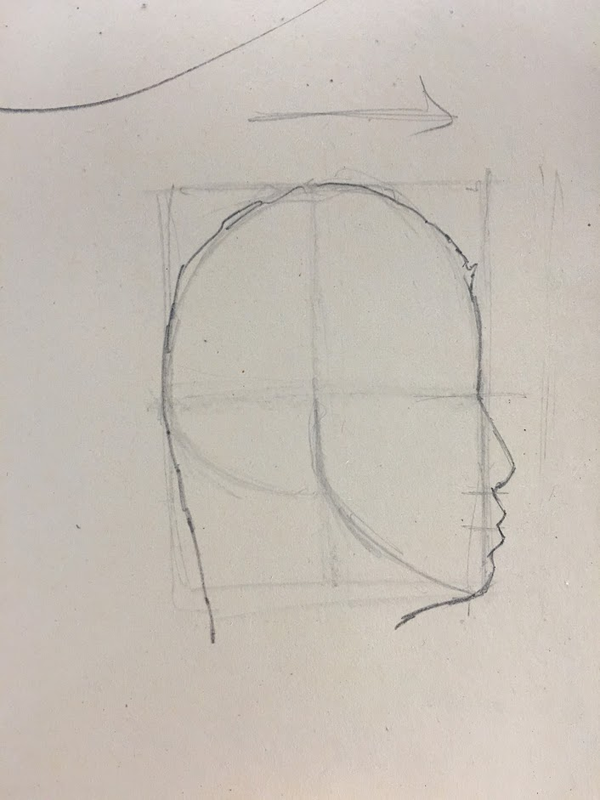
Step 3 - Finishing
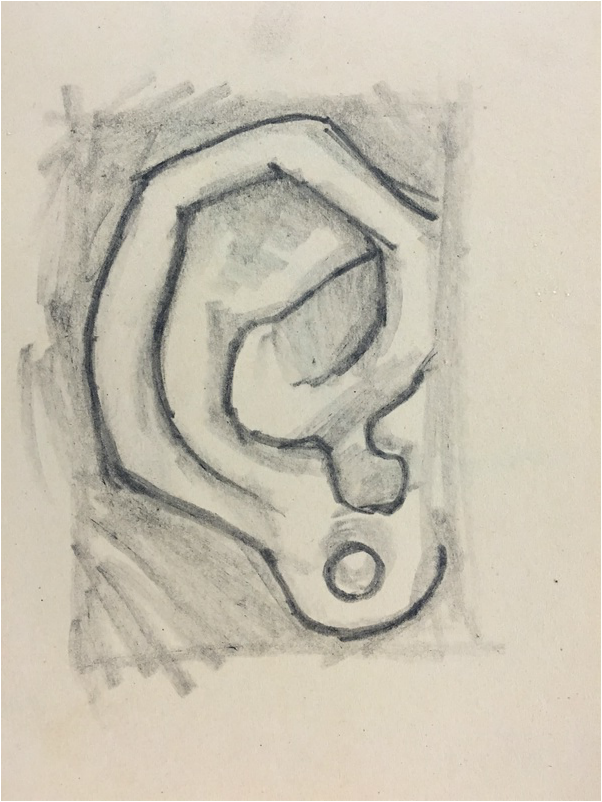
Finish by going back over all of your sketched lines and sharpening the image to reflect the edges that you actually see in your model's ear. Some of these edges will look like they just kind of "trail off" and disappear. If this happens, just gently fade your line out in the same place.


 RSS Feed